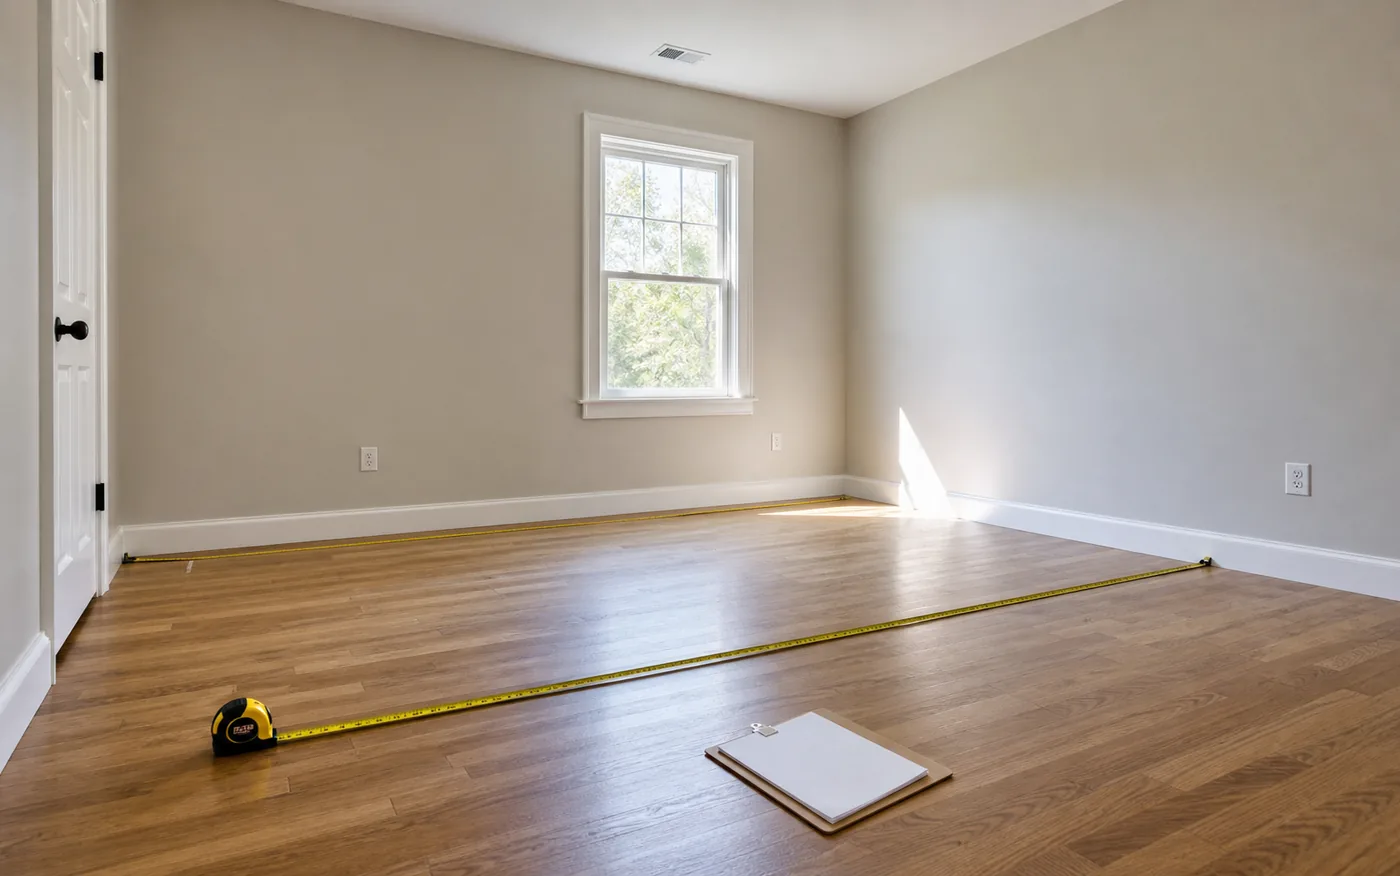
Worksheet
Room sketch worksheet
- Clear a straight measuring path along the floor when possible.
- Measure the longest wall-to-wall length and width.
- Record the raw values before rounding.
- Split L-shaped or irregular rooms into rectangles and add the areas.
- Include closets or alcoves when the same material will cover them.
Checklist
Irregular-room cross-checks
- Measuring furniture placement instead of wall-to-wall room size.
- Mixing feet, inches, meters, and centimeters in one estimate.
- Rounding each measurement too early.
- Forgetting closets, bay areas, alcoves, or connected hall sections.
Worked scenario
12-by-10 room walk-through
A 12 ft by 10 ft bedroom is 120 sq ft. If a 3 ft by 4 ft closet gets the same flooring, add another 12 sq ft before applying waste.
When room area is enough
Room area is a useful starting point for flooring, tile, rugs, and general room planning. Paint usually needs wall area too, because wall height and openings change the surface estimate.
How to handle irregular rooms
Break the space into rectangles, calculate each rectangle separately, then add the areas. This is usually easier and less error-prone than trying to force one large measurement.
Measured data and planning inputs
Exact conversion checkpoints for room notes
These exact relationships are useful when one tape measure is marked in feet and inches but a product page uses meters. Convert each length first, then calculate area; do not apply a linear conversion factor directly to a square-area result.
| Checkpoint | US customary value | Metric value | Evidence |
|---|---|---|---|
| One inch | 1 in | 25.4 mm exactly | Primary source NIST SI conversion factors Accessed July 2026 |
| One foot | 1 ft | 0.3048 m exactly | Primary source NIST SI conversion factors Accessed July 2026 |
| One square foot | 1 sq ft | 0.09290304 sq m | Primary source NIST SI conversion factors Accessed July 2026 |
The exact length definitions come from NIST. The square-foot value follows by squaring the exact foot-to-meter relationship.
Keep more precision in the worksheet than you show in the final shopping note so repeated conversions do not accumulate avoidable rounding error.
Visual measurement worksheet
L-shaped room divided into two rectangles
A plan view shows a larger rectangle and a smaller return labeled as separate sections, with a dashed line marking where their areas are calculated independently.
Contrasting conditions
A harder case: an L-shaped bedroom with a built-in
Instead of one clean rectangle, consider a bedroom with a 12 ft by 10 ft main section and a 6 ft by 4 ft dressing recess. The flooring continues into the recess, but a 2 ft by 3 ft built-in cabinet footprint will not receive flooring.
- Calculate the main rectangle: 12 ft x 10 ft = 120 sq ft.
- Calculate the recess: 6 ft x 4 ft = 24 sq ft, producing 144 sq ft before exclusions.
- Subtract only the confirmed built-in footprint: 2 ft x 3 ft = 6 sq ft, so the measured floor area is 138 sq ft.
- Record 120, 24, and -6 as separate worksheet lines instead of saving only the 138 sq ft total.
Result: The planning area is 138 sq ft before any product-specific flooring waste. A 10% material allowance would be applied later in the flooring calculator, not hidden inside the room measurement.
Review: This case is harder because the recess adds area while the fixed cabinet removes it. A sketch with named sections makes double counting visible and lets another person recheck every number without remeasuring the whole room.
Turning the evidence into a room sketch
A room outline is easiest to audit when every dimension belongs to a named section. Start at one corner, move around the perimeter in a consistent direction, and annotate where the wall changes direction. For an L shape, the dashed split is a calculation boundary rather than a physical wall. The two rectangles must meet without overlapping. If a bay, closet, or hall connection will receive the same material, give it its own line. If it will not receive the material, keep it as an explicit exclusion rather than silently shortening another measurement.
Use the raw room worksheet for more than one project, but create a separate included-area decision for flooring, rugs, and furniture. Flooring may continue into a closet, while a rug normally covers only a furniture zone. The room-area calculator should receive measured geometry; packaging coverage and waste belong to the material calculator that follows. This separation prevents a rough waste allowance from being counted once in the room measurement and again when the box or tile quantity is calculated.
Before recording the room total
- Measure the room length and width from wall to wall.
- Write down the raw measurements before rounding.
- Mark closets, alcoves, bay areas, and connected hall sections.
- Split irregular rooms into rectangles and label each section.
- Use one unit system before entering numbers into a calculator.
When the room-area calculator is sufficient
A calculator is enough when the room is a simple rectangle or can be split into clear rectangles, and you only need a planning estimate for area-based materials.
When material specifications take over
Product labels matter when coverage, box size, roll size, or tile size affects the purchase. Professional help matters when the project touches structural, electrical, gas, code, or permit decisions.
Checking an irregular-room total
After calculating the room area, compare the number with the way the material will actually be installed. Flooring and tile usually need the total floor surface, while rugs may need a smaller zone based on furniture placement. Paint, wallpaper, and wall panels need wall measurements instead of floor area.
If the room is irregular, keep each rectangle in your notes rather than only saving the final total. Those section notes make it easier to find mistakes later, especially when a closet, alcove, or short hallway is included in the project.
Before buying, move from room area to the calculator that matches the material. A room area number is a starting point; box coverage, tile size, coats, roll size, and waste factors decide the final shopping quantity.
Continue from room area to materials
Last reviewed: July 28, 2026